BRAINY is Multi-functional server hosting control panel for Linux
The main task of BrainyCP is to make server management as easy as possible for a system administrator as well as automatize all server processes. The product will come handy both for a webmaster working on small tasks who needs the tool for VPS-management, and for a large hosting company for locating their clients on a shared hosting.
Server configuration
To go to server settings, open the "Server settings" section of the admin panel. The General tab displays all server settings. On the "Server" tab there are time, security and other settings. On the "Mail" tab there are mail settings.
Server tab
The following settings are made on the "Server" tab:
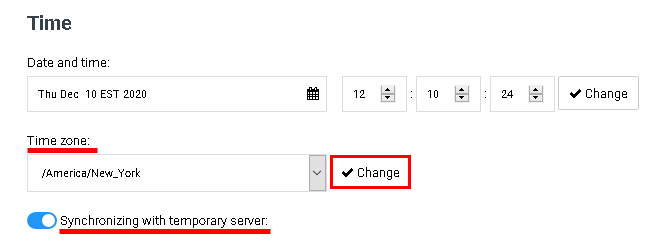
To set the time, enter it in the appropriate windows using the keyboard, or set using the buttons2020-10-22 15-44-08.png. Then hit the "Change" button:

To set a time zone, select it from the drop-down list in the "Time zone" field. Click on the "Change" button. To synchronize with a temporary server, enable the "Synchronizing with temporary server" option:
Creating host-account
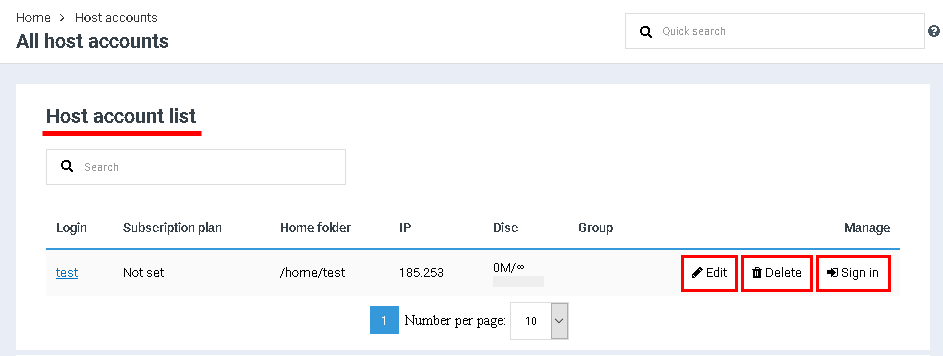
Host accounts are created and edited in the "All host accounts" section of the control panel. In the "Host account list" section, a list of all created host accounts is displayed. When you click on the "Edit" button, a form for correcting data in the account will open - the fields in it are identical to the fields filled in when registering a new host account. Clicking on the "Delete" button will delete the host account. By clicking on the "Sign in" button, the administrator will be asked to log in to the user account:
Manage Jail
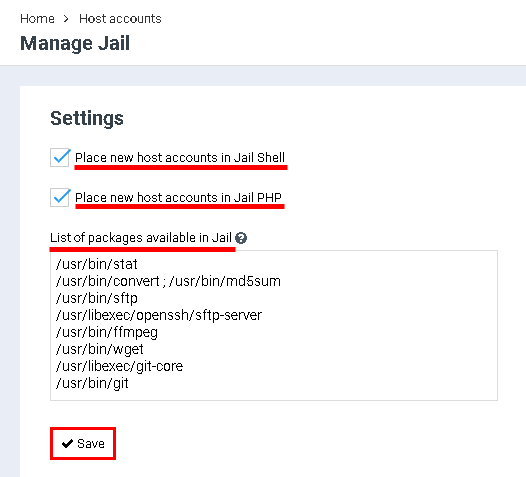
Jail technology is used to protect user host accounts located on the same server, including from each other. This technology is provided free of charge in the BrainyCP hosting control panel. To go to Jail configuration, open the "Manage Jail" / "Settings" section. In the "Settings" section, you can configure the addition of new host accounts to the Jail Shell and Jail PHP (check the required parameter).
The "List of packages available in Jail" field contains a standard list of packages. Packages can be added either on a new line or separated by spaces, commas, or semicolons. After completing the configuration, click on the "Save" button:
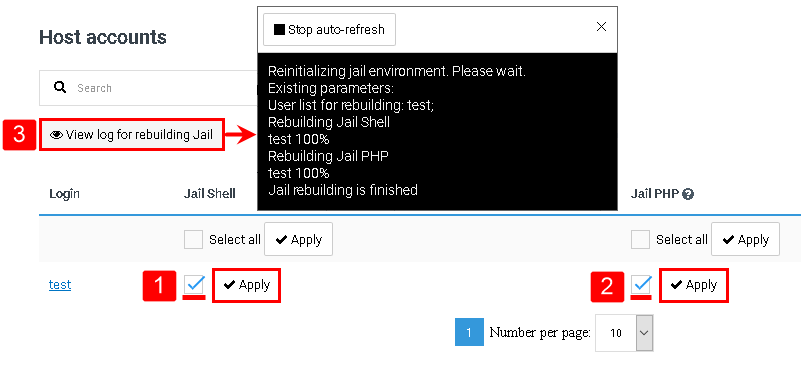
After saving the settings, execute the list of packages available in Jail that has been changed, rebuild Jail in the table under the block with settings:
- Tick the checkboxes for the selected host accounts or tick the "Select All" checkbox in the Jail Shell column to perform reconfiguration for all accounts on the server. Click on the "Apply" button.
- Tick the checkboxes for the selected host accounts, or tick the "Select All" checkbox in the Jail PHP column to reconfigure all accounts on the server. Click on the "Apply" button.
Select the host account in the search bar and click on the "View log for rebuilding Jail" button, after which a window with logs will open.
Creating a group of host-accounts
To create a group of host accounts, go to the "Group editor" / "Current group" section of the control panel.
After a group of host accounts has been added, it can be selected when creating host accounts (see the article "Creating a host account in BrainyCP") - all restrictions for this group are applied automatically.
Select "Create New" in the "Current Group" field. Enter the name of the group in the "Name of new group" field:

Creating subscription plans
To create a subscription, go to the "Control" / "Host account subscription plans" section of the control panel.
After the subscription plan is added, it will be possible to select it when creating host accounts (see all settings for this subscription plan will be applied automatically.
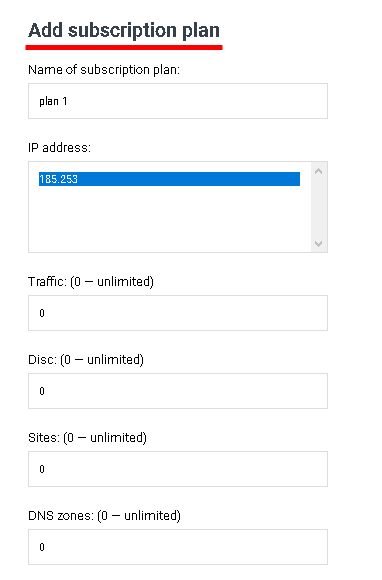
In the section "Add subscription plan" fill in the suggested fields:
To edit the subscription plan, click on "Edit" on the opposite, to delete it click on the "Delete" button:
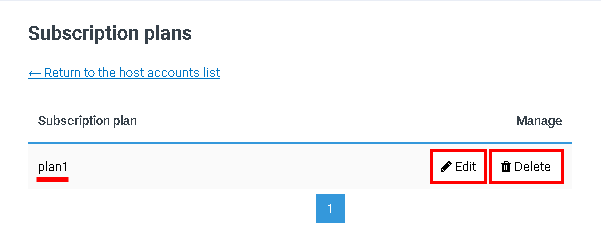
After the editing is finished click on "Save subscription plan" button.
Updating the system
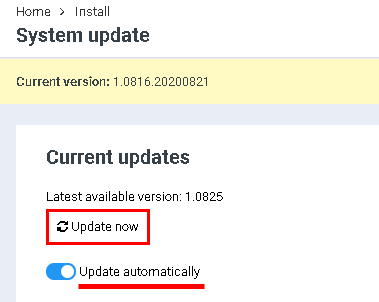
To update your BrainyCP hosting control panel to the latest version, go to the "Manage" / "System Update" section. Updating the control panel can be done in two ways:
- To manually update BrainyCP, click on the "Update Now" button in the "Current Updates" section.
To enable automatic panel updates, move the toggle button to "Enable" in the "Update Automatically" box under "Current Updates". After that, the control panel will be updated automatically:
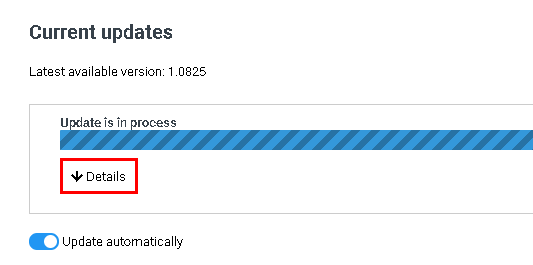
After clicking on the "Update now" button, the process of updating the control panel will start. Click on the "Details" button under the progress bar to see the details of the update:
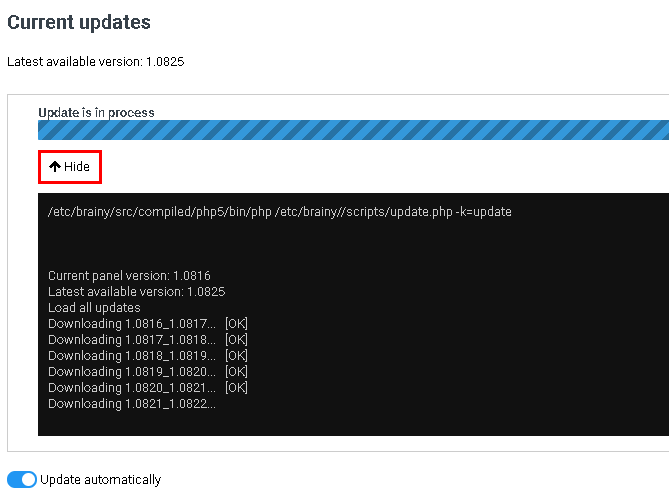
To hide the update details, click on the "Hide" button:
The "History" section displays information about each version of the update - what was fixed and / or added by the developers.
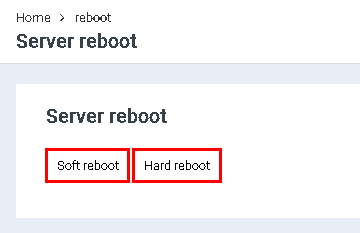
Server reboot
To reboot the server. go to the "Server reboot" section of the admin panel.
To perform a soft restart, click the "Soft reboot" button, for a hard restart, click the "Hard reboot" button: